

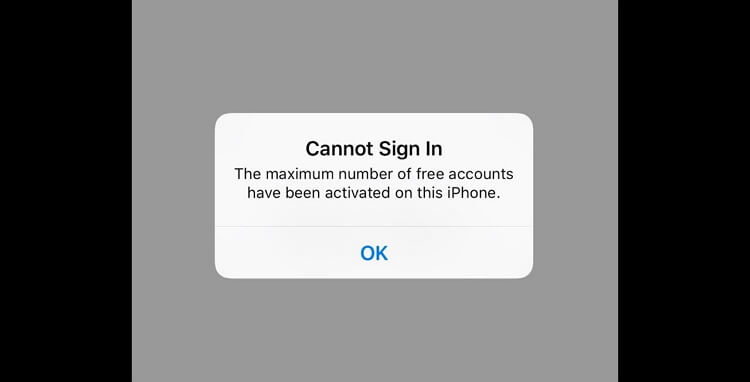
Have you tried to create an iCloud account on your iPhone and you see an error message saying, "The Maximum Number of Free Accounts Have Been activated on this iPhone?" This error message can pop up even when you are certain you didn't create many iCloud accounts.
If you see it, it is likely that you have exceeded the limit of the number of iCloud accounts you can have on one device. If you are sure you haven't, the following solutions should eliminate the problem.
Why You See This Error Message?
Create an iCloud Account on Browser and Then Log in on iPhone
Restore a Backup to the Device to Fix the Issue
1. Why You See This Error Message?
Before we begin with the solutions, it is important to understand why this issue happens. That way, you can at the very least prevent it from happening again. On your iPhone, there is a limit to the number of iCloud accounts you can create. You can sign in to an unlimited number of iCloud accounts, but you can only create 3. Therefore, if you are seeing this error message and you are certain you didn't create 3 iCloud accounts; it is likely that you bought a second hand device and the previous owner had exhausted this limit.
That said the following solutions can help you fix this issue that users cannot sign in the maximum number of free accounts have been activated on this iPhone.
2. Create iCloud Account on Browser, Then Log in on iPhone
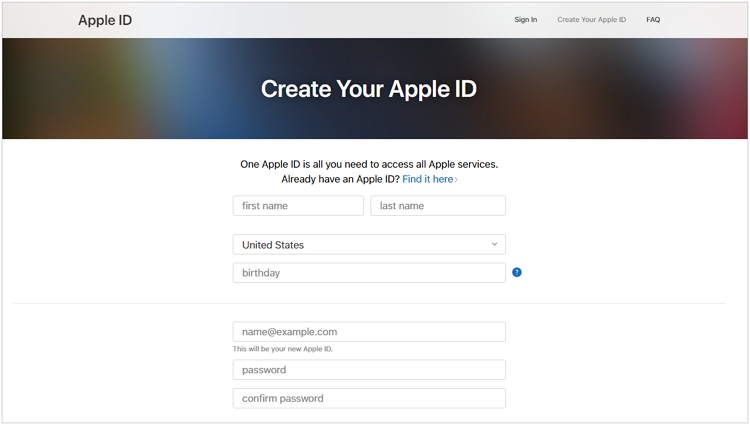
When this error shows up, it means that you are unable to create the new account, let alone to log it in on your iPhone to perform the task you need to perform. If you are on a browser instead, it can be easier to create a new account without having to go to Settings on your device.
To create an iCloud account on your computer, follow these simple steps;
Step 1: Go to https://appleid.apple.com/account#!&page=create and follow the instructions to create an iCloud account.
Step 2: After creating the account, go to your iPhone, log in to the iCloud account you just created.
3. Restore a Backup to the Device to Fix the Issue
If you create an account on a computer but you are still unable to sign in to your iCloud account, you may need to restore a backup to the device. Depending on your backup method, you can choose to restore from an iCloud or iTunes Backup following Apple's instructions. These are great options but you can also choose to use iMyFone D-Port Pro to restore the backup. As a professional backup and restore tool, it offers more options than restoring backup from iCloud and iTunes.Sponsor ads:
Gihosoft Free iPhone Data Recovery:https://www.gihosoft.com/iphone-data-recovery-free.html
Gihosoft iPhone Data Recovery Free
Free iPhone Data Recovery Software for Windows/Mac
Recover up to 12+ types of files, including contacts, SMS, photos, WhatsApp, Viber, notes, etc.jihosoft Free iPhone Data Recovery
Restore lost data from iOS devices directly or from iTunes and iCloud backup
Recover iPhone data lost due to iOS upgrade/jailbreak, accidental deletion, device lost or broken
Support all the latest iPhone, iPad and iPod Touch
Both Free and Pro version.
If you lost data after you updated to a new iPhone, you can always use Gihosoft iPhone Data Recovery to get the data back from the old iPhone or backup.You may also like: iphonerecovery.com
If you use android phones, please choose Gihosoft Android Data Recovery.
With Gihosoft Android Data Recovery, no longer afraid of data loss!
Must read:Youtube video downloader for pc
Gihosoft RePicvid Free Photo Recovery Software provides a free photo recovery software for windows to help users recover the deleted or lost photo for free.
Jihosoft Android Data Recovery: the best Android Data Recovery software for Windows and Mac to recover deleted contacts, messages, photos, videos, WhatsApp and etc from Android devices.Tips:How to transfer messages from iPhone to iPhone


0 Comments